Mold Remediation the Basics Part I
Containment
First, Confirm The Presence and Scope of Contamination
As you may know, the reason for a mold inspection is to identify whether you have a mold problem. The completion of an investigation leads to one of two outcomes:
- You do NOT have a mold problem, and your concerns are alleviated through a thorough mold inspection and/or testing, or
- You DO have a mold problem, and proper mold remediation should be performed.
Let’s be real, we would ALL prefer outcome number one, but unfortunately, many people end up in situation number two. So, with that being said, the next step to properly address a mold problem is to enlist a certified, competent remediation contractor to perform mold remediation (removal of mold) in the affected area. While this can be an extensive, in-depth process, for the sake of this post, and the next two to follow, we are going to break mold remediation down into three basic steps.
Part I – Containment of the Affected Area
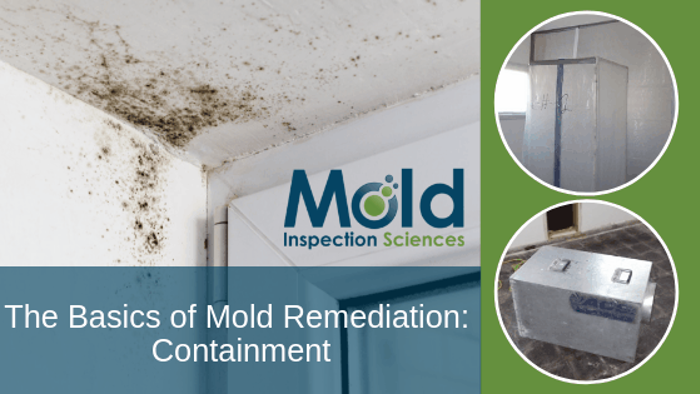
One of the main concerns, when indoor mold is present, is the dissemination of airborne mold spores. So, step one when a remediation project is initiated is to set up containment or isolation of the affected area. Containment will help control the spread of these spores while assisting the remediation contractor in returning the affected area to normal conditions. The act of removing or disturbing a mold source tends to distribute large quantities of mold spores into the air. If proper containment is not utilized, this can affect adjacent spaces to the work area and cause cross contamination.
Now, let’s break down exactly how an affected area is isolated for mold removal.
Step 1
When setting up containment of the work area, the first step is to install a HEPA Filtered Negative Air machine. This is a fan which pulls air from the affected area and exhausts the contaminated air outside of the structure via flexible tubing or ducting. Doing this will begin to draw the airborne mold spores away from the airspace, eventually creating a negative pressure environment.
Step 2
Step two is to install physical barriers in the work area. This is most typically done with the use of heavy plastic. The main goal when creating this physical barrier is to completely isolate the work area from any adjacent, non-affected areas. For example, if mold is present in one room of your home and the adjacent areas have not been affected, the room must be isolated. Depending on the layout, the doorway would be completely sealed with plastic. All HVAC systems or shared airways between other rooms would be taped or covered in plastic, and all electrical outlets and light fixtures would be covered. In essence, any area that could allow air communication between the work area and other non-affected areas should be properly sealed.
Once step one and two are completed, a negative pressure environment should be in effect. A negative pressure environment simply means that the air pressure within the workspace is less than the air pressure in the areas surrounding that space. This is achieved when the volume of air being pulled out of the space (through the negative air machine) is greater than the volume of air being pulled into the space. As a result of this negative air pressure within the work space, any mold spores that become airborne through the remediation efforts are being controlled, preventing them from affecting the adjacent spaces and flushing them away from the indoor environment which is necessary when attempting to return the area to normal conditions.
What's Next?
Once these steps have been completed, the remediation contractor will then begin part II of a basic mold remediation project. This is where things get turned up a notch, and we start to say goodbye to the gross impacted materials.
Stay tuned for what happens next…

Five Reasons to Get a Mold Inspection
Our Podcast is Here! Listen in to our new episode of The Secret Life of Mold for the top five reasons why getting a mold inspection before purchasing a home is the smart thing to do.


