Mold Remediation the Basics Part II
The Gross Removal
The Process of Removal
Welcome back to part two of our three-part series on the basics of mold remediation. If you haven’t read part one, we recommend you start there to understand the removal process better, but if you’re ready for some gross nitty-gritty, then read on.
At this point in our story, we have confirmed that mold is present, and the area impacted by mold has been isolated from all non-affected adjacent living spaces.
As a quick review, this was accomplished by:
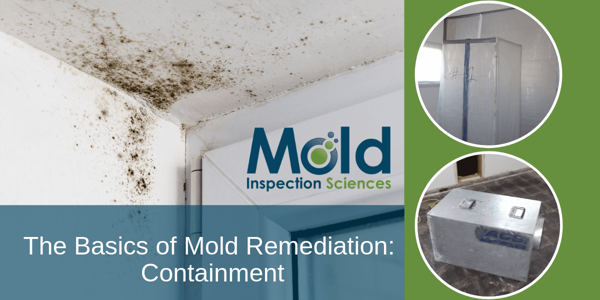
- Establishing containment of the area,
- Installing a HEPA Filtered Negative Air machine,
- And, the installation of physical barriers.
All of this creates a negative pressure environment successfully containing the affected area.
The next step? Perform the removal of impacted materials and mold growth.
Say Goodbye to the Sick
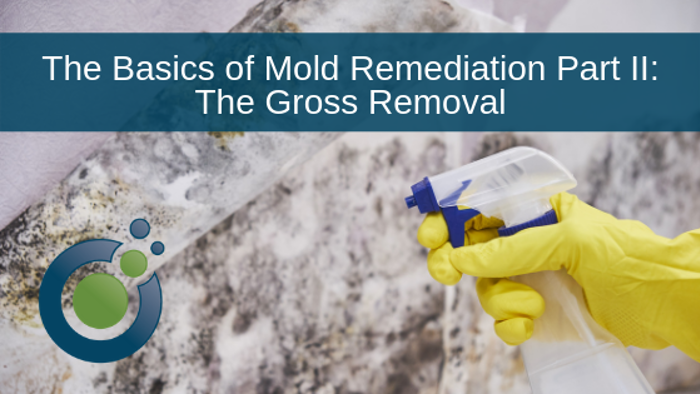
Unfortunately, when a mold problem is present within a home, it typically means that some materials are going to have to be removed. If mold growth is within a wall cavity or under flooring materials, to be accessed, the elements around the source must be removed. If non-structural materials with mold and/or water damaged are present, they are typically removed and discarded. These types of materials include baseboards, drywall, carpeting, carpet pad, tack strip, underlayment, insulation, building paper, etc. Bottom line: most remediation projects involve the demolition of building materials. But fear not, the removal of materials is typically well planned and, on most projects, only the necessary components will be removed.
Once the non-structural removal is accomplished, mold growth must be cleaned from any structural materials that have been impacted. Mold is often found growing on any organic structural material that is used in construction such as framing, subflooring, roof sheeting, etc. As long as the structural integrity has not been compromised, the mold growth will be cleaned and removed from these elements.
Cleaning and Removing the Mold
The first step in the cleaning and removal process is to HEPA vacuum the surface of the impacted materials. This is done to remove as much of the mold source as possible in a controlled manner. Controlling the removal will prevent mold spores from becoming airborne.
Next, the impacted materials are scrubbed and cleaned to remove all physical mold growth. This is a critical step because mold sources embed themselves into the elements they are feeding on with a thread like component called hyphae. Hyphae are used to bind the spore to the material and can penetrate as far as a 1/32nd of an inch. Some contractors will remove the hyphae with wire brushes or sanding, while others may use more intense methods such as dry ice blasting or media blasting. Either way, the mold must be removed in its entirety. This process typically creates lots of dust and debris, so HEPA vacuuming is often done in combination with the cleaning.
During the cleaning of the structural materials, many contractors use liquid-based cleaning products. This is done for multiple reasons: to physically kill the mold, to penetrate the affected materials and aid in loosening the hyphae, to wet the mold source and make the spores less likely to become airborne, to bleach the elements and remove evidence of staining, etc. There are many types of products used: some are “Green” products considered to be environmentally safe, some are biocides designed to kill all biological organisms, some are fungicides designed to kill fungal based organism, and some are based on everyday homeowner liquids such as Hydrogen Peroxide (quite a bit stronger than the stuff in your medicine cabinet though).
Once all of the impacted non-structural materials have been removed, and all of the physical mold growth has been cleaned and removed from the structural materials, the next step of the remediation project may begin. Stay tuned for Part III of a basic mold remediation project as we uncover the final steps in the remediation process.

Five Reasons to Get a Mold Inspection
Our Podcast is Here! Listen in to our new episode of The Secret Life of Mold for the top five reasons why getting a mold inspection before purchasing a home is the smart thing to do.


